Powerful Viewer Tools
Our netScope® Viewer is not only efficient and easy to use, it also offers great solutions for complex tasks. There is a slide export function and display settings for different fluorescence slides. The netScope® Viewer supports all recorded dimensions, space (Z-stack) and time (T-stack) adjustments are therefore possible!
Export function
___
Our netScope® Viewer contains a potent export function that you can use to export your slides quick and precisely (suiting your export goal or rather subsequent use). The export function gives you the choice to select one of the following image formats: JPEG, PNG, BMP, TIFF, Big Tiff and GIF. For a better illustration there is the option to show or hide all tools. The technical highlight of our export function is the fluorescent export. Our Viewer can export fluorescent images with customized channel settings as well as each fluorescence channel separately.
You can also choose whatever resolution you would like. The netScope® Viewer offers a pre-screening of all common resolutions and also enables you to customize yours. Here, as well as in every process our netScope® Viewer saves your default settings. That way every new export is one click away.
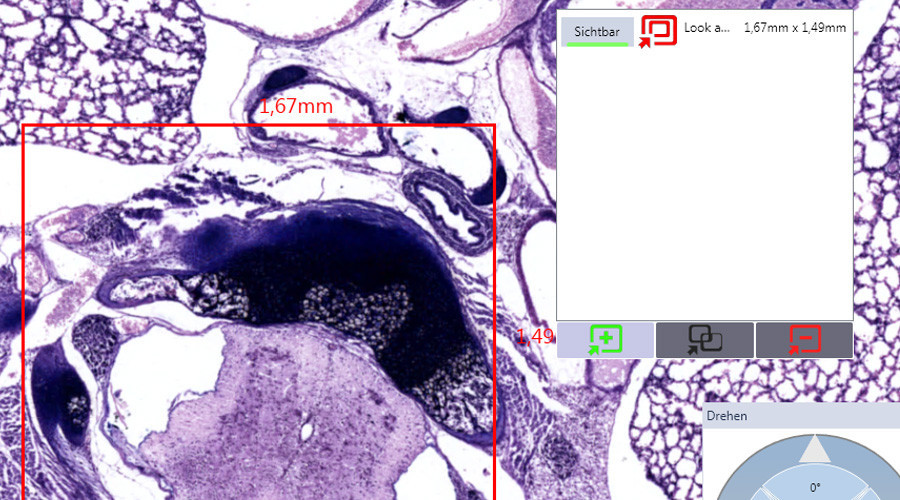
In addition to exporting entire slides, our Viewer also offers a snapshot function. This makes it the optimal way of image section extraction (for instance for a presentation). Use the annotation tool to highlight specific areas within your sample . With a keystroke open the snapshot menu and save the selected detail in the current resolution. In addition to the standard settings for storage location and slide format you can choose to show or hide any tool.
Fluorescence Histogram
___
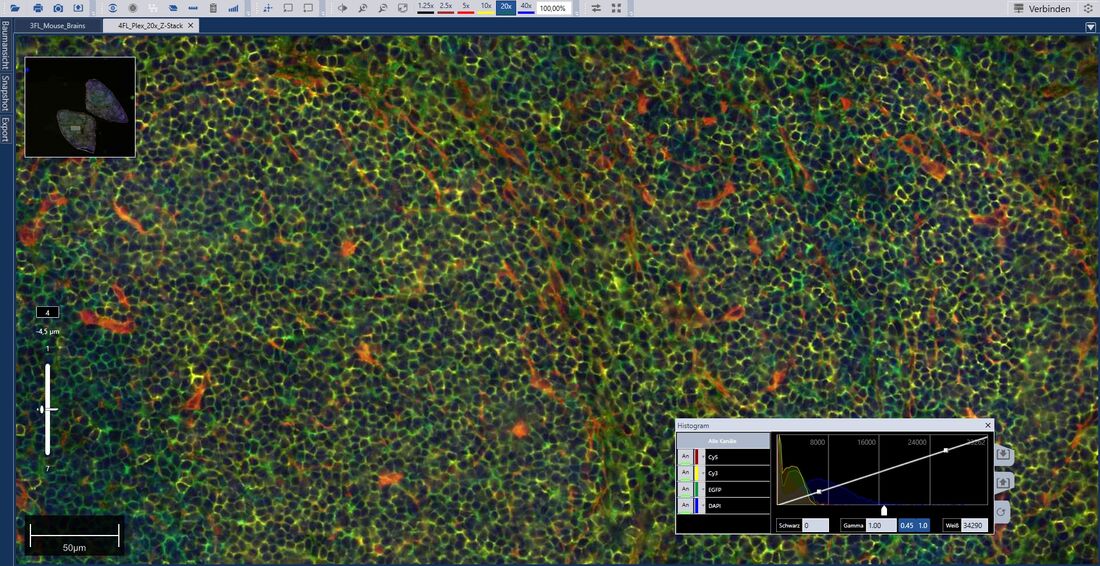
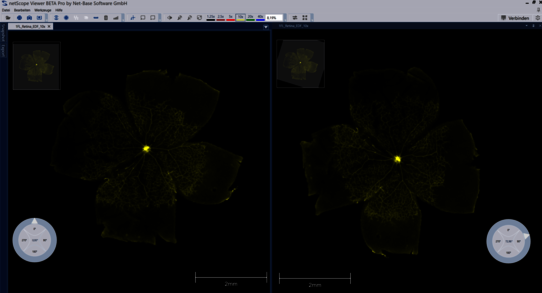
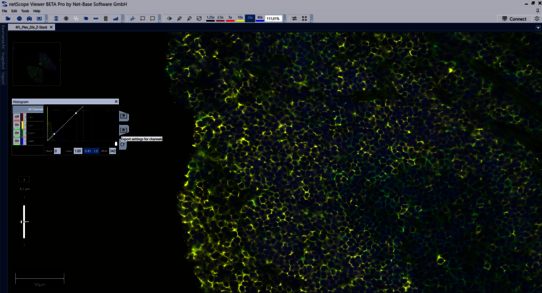
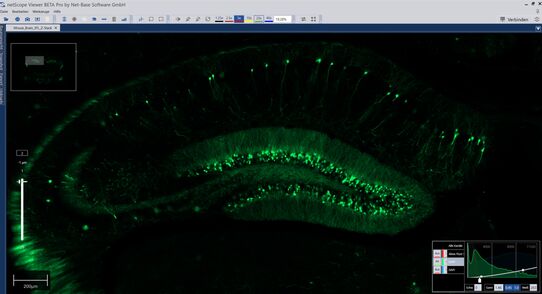
Our Viewer enables you to work with complex fluorescence slides. Each colour channel (1:n) is shown, individually selectable and adjustable. Therefore making it possible for you to choose whether to work with all existing channels or the selected few. Save your customized settings as you work through your slides to ensure a reliable reproduction of the work you have done. You only have to create a profile once to apply it to every other slide. You can save your settings as a file (netScope display setting file; channel setting file) or template. Both include every parameter and preference you set.
Efficient dimension adjustment
___
When all the parameters within your slide are achieved our netScope Viewer can show them in more than two dimensions. The Z-stack function enables you to see a three-dimensional effect and the T-stack function even adds a fourth dimension: time! If you work with CZI shots which were taken with different picture and plane levels, you will be able to easily navigate through multiple levels thanks to the Z-stack function. When opening the Z-stack image, the middle image plane is automatically displayed. While the Z-stack function operates in the depth and thereby already grants more insights, the T-stack function operates via the time axis. This makes it possible to show the course of time for a slide.
Overview on processed regions
Quantify
Count the occurrence of certain elements, sort them into any number of classes. You can decide for yourself whether you want to click on each element individually, or simply move or jump over your shot using a keyboard shortcut, thereby incrementing a counter.
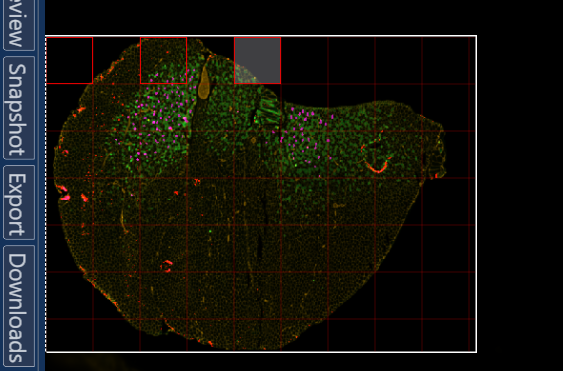
Specify a name and colour for each class to identify it uniquely. Not only can you see in the navigator which areas you have already looked at, but you can also have them automatically skip irrelevant areas or automatically skip several areas.
Get to know our tools
Here you will find more detailed information about a selection of the tools available to you
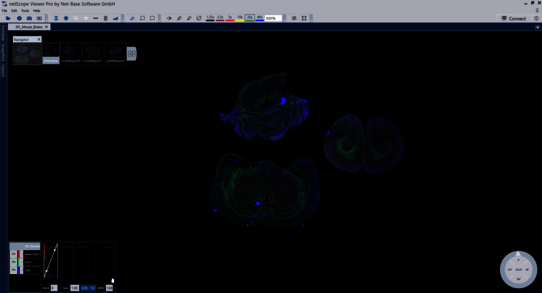
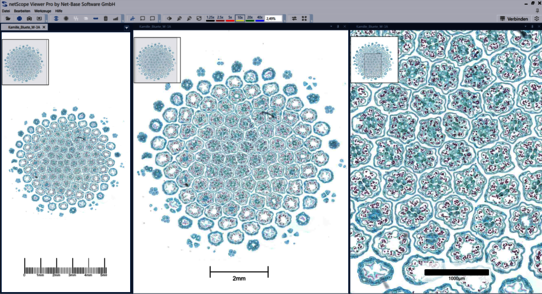
Use all the available CZI slides by clicking on scene selection and choosing the slide that fits. The CZI slides are divided in different scenes.
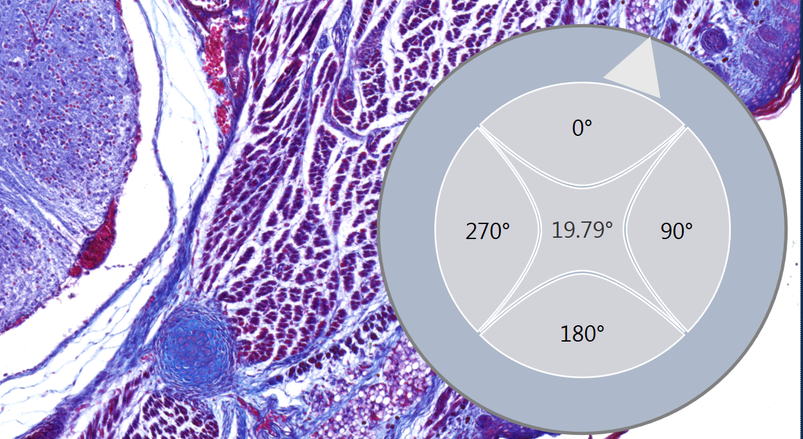
Click and show or hide a label as well as rotate your slides.
Rotate your CZI slides with single degree progressions and compare them to your original slide. Our program saves your settings for future use.
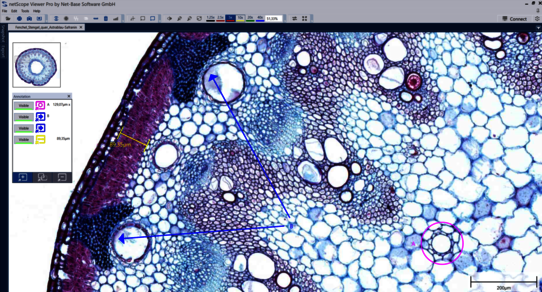
- add individual comments and annotations
- easily measure specific sections
- structured overviews that can be shown or hidden for all implemented annotations
- the scale bar re-sizes your images automatically. In addition you can adjust the scale bar to fit the size of your image -> therefore you are able to estimate the distance between two points easily.
- The scale bar is available in 3 display formats.
- save and export all individual parameters within the bright field or fluorescence histogram
- save your settings as individual files and choose the correct file format: netScope® "Channels Settings File" (.chs) [≙ ZEN Display Setting File (.czdsp)]
- alternatively, settings can be created and saved as templates
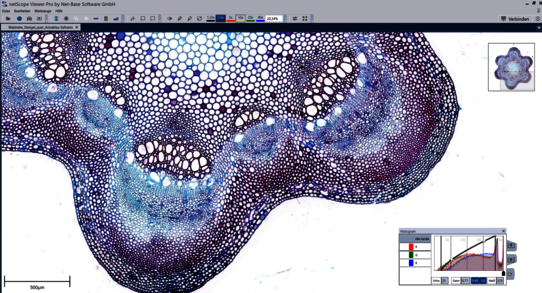
The bright field histogram is a clear aid for you daily use. The colour channels will be displayed as lines and gamma values as curves. In addition to this you can adjust black and white scales with your cursor or by entering specific values.
- The following settings can be imported: Zeiss Efficient Navigation (ZEN) Display Setting Files (.czdsp) and netScope® Display Settings Files (.chs)
- all imported settings contain following information for each colour channel: active or inactive, pseudo-colour, Gamma value, black and white value
- annotations and measurements will be imported together with the image
- save time and achieve your desired goals by importing tried and tested slide settings!

